My Great Lakes 2T-1A-2 Rebuild Diary 2009.

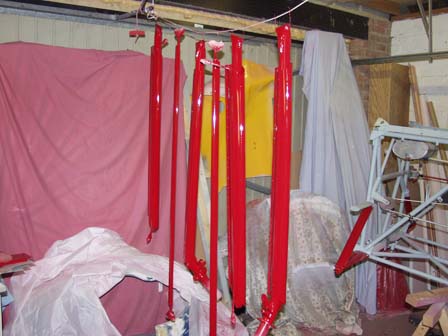
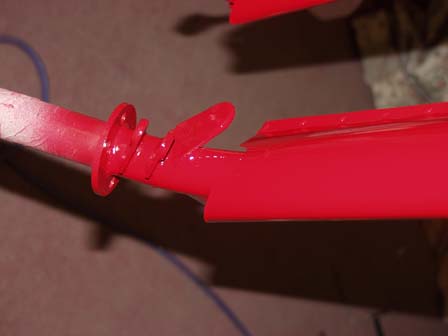
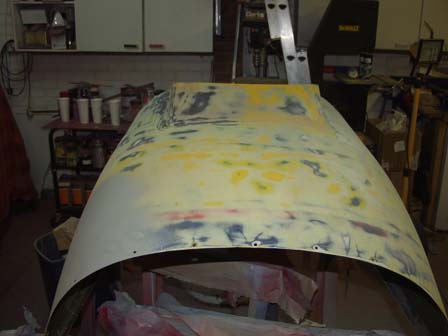
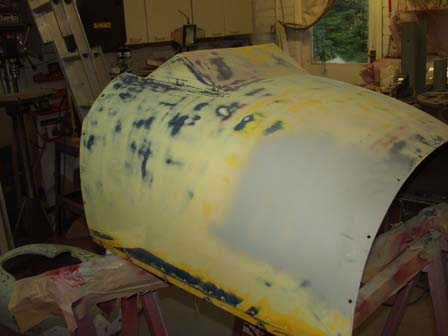
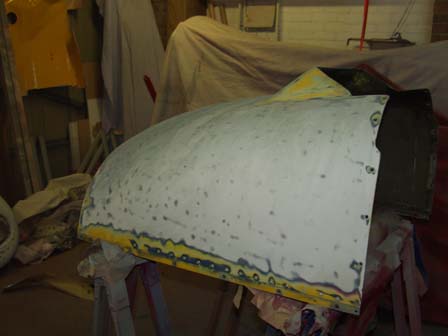
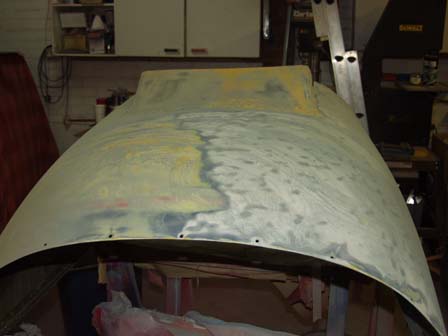
July-2009. Stripping, rubbing down and painting.
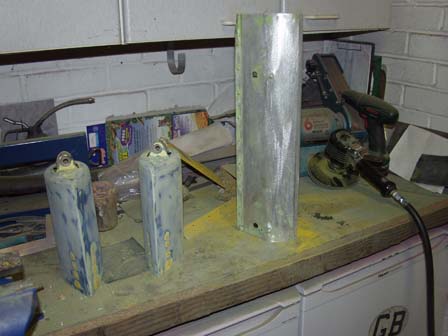
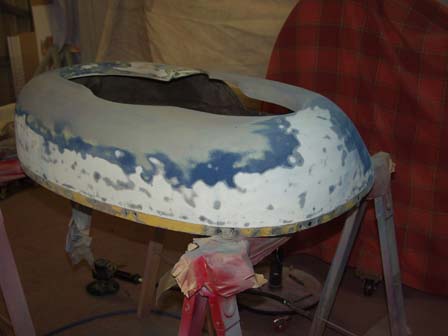
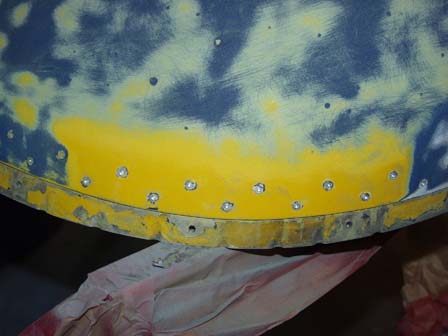
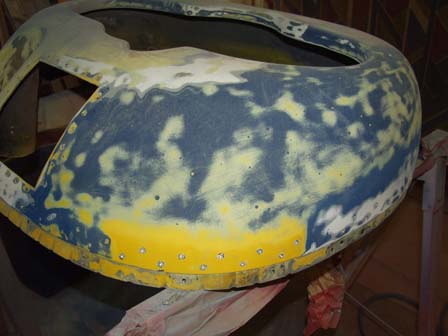
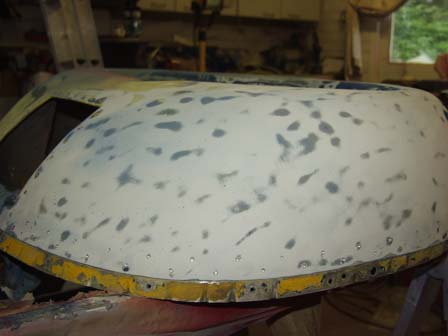
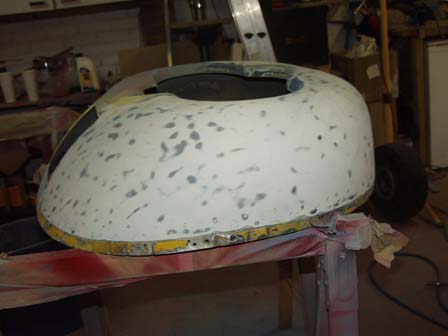
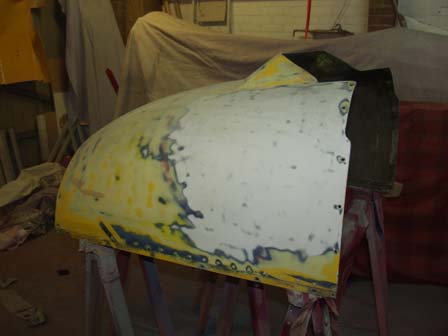
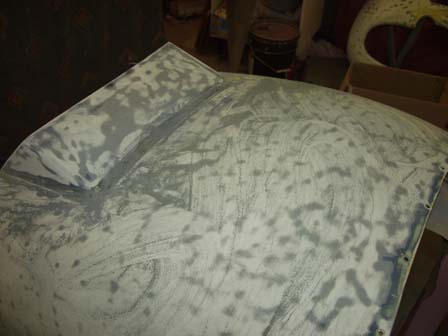
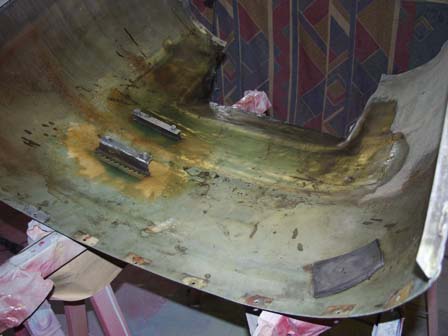
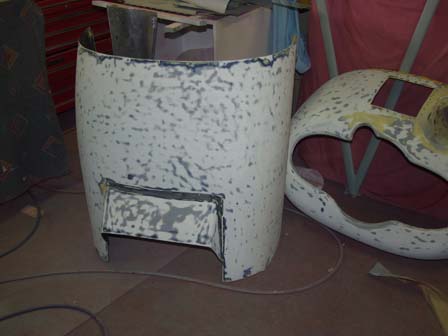
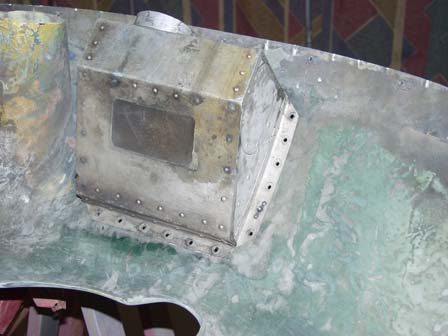
Lots of paint stripping. Most of it again on the cowl, however I had to give up on the manual method as It appears I have badly damaged my shoulder. So I purchase an air sander, which I should have done it at the start as it made very quick work of taking all the paint off. Then I purchased another sander to polish up the surface.


I am pleased with the finish, hoever things in my workshop soon get very dusty! I will be happy when all the stripping and sanding is finished.
Odd jobs due to weather. The floor was held in with small screws. So I fitted nut plates and threaded countersunk screws with tinnerman washers. Looks way better!
.
Nutplate fitted.
Nut plates fitted on all flopr mounts should stop the screws from moving.
Another odd job the head rest.
My old one was a bit of wood with self tapping screws. So I have made a fiberglass insert instead, and fitted nutplates.
More stripping and painting. You can see my new air sander in the background. Way easier on my shoulder.
With the new sander I also attacked the cowl. What a mess in my workshop!
The only way to do this properly is to remove all the rivets. However I have decided to replace the metal strip around the cowl so they were coming out anyway. However another MOD will be to bond the strip and to fit countersunk rivets. looks nicer and easier to spray and sand to a good finish.
Looking better now all that blue has gone.
with my new sander I started on the cowl. Big job but better than by hand, plus all these layers of paint coming off must really save some weight!
Again paint testing to see how it would react. The white should be a gelcoat. So checking.
Those rivets are going to come out.
The grey/green is all the dust.
At least the blue shows up against the white gelcoat so it's easy to rub back.
The inside required a lot of work. I rubbed back and reapplied the resin coat. I also filled in all the attachment holes and fitted metal reinforcement. Then redrilled smaller correct position holes.
All rubbed back.
I also fitted nut plates to the airbox and contersunk the screws on the cowl.
  Copyright © 2010 GreatLakes2T .co.uk All rights reserved. All pictures are property of GreatLakes2T (unless noted) please do not reproduce. For more information contact webmaster [at] greatlakes2t .co.uk This site is NOT the official Great Lakes Inc site. The contents of this site are the opinion of the author, not LAA, FAA or CAA. Please check all information is correct before you act upon it.