My Great Lakes 2T-1A-2 Rebuild Diary 2008.

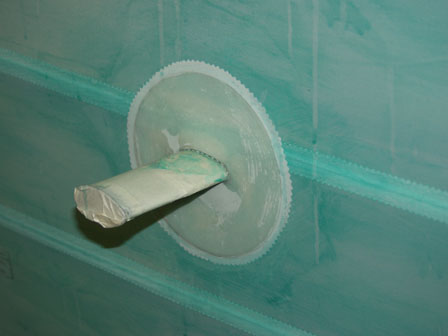
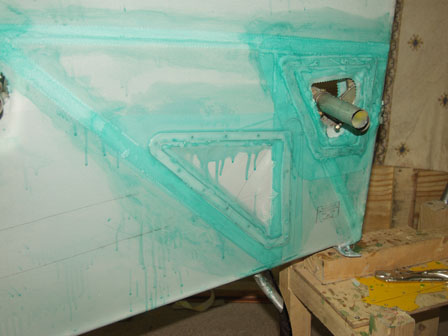
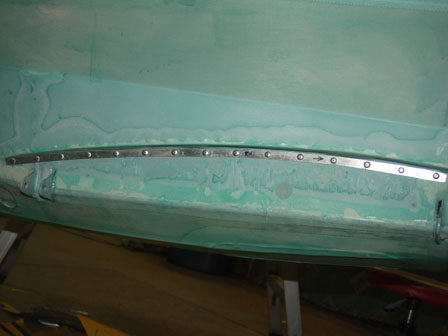
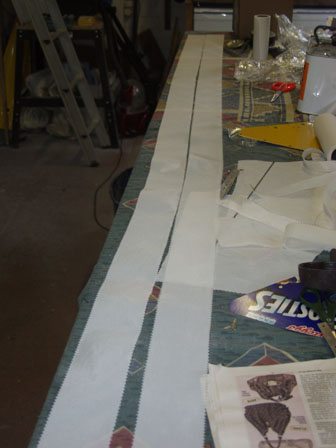
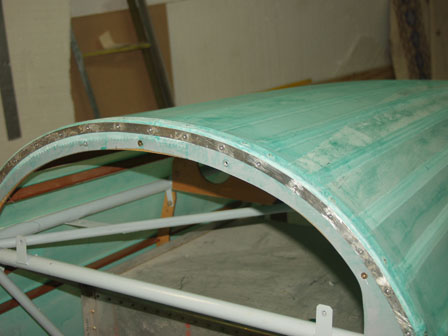
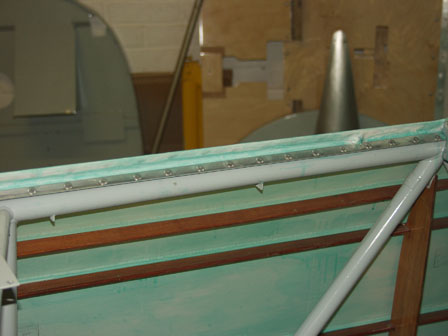
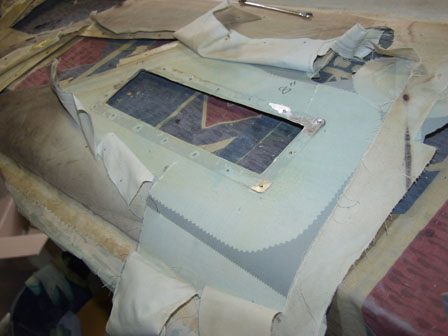
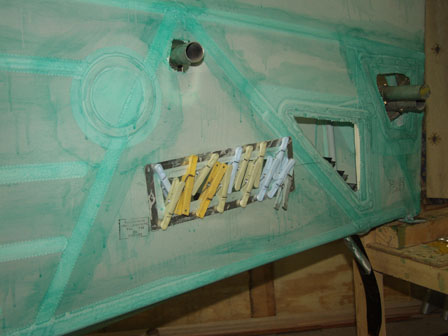
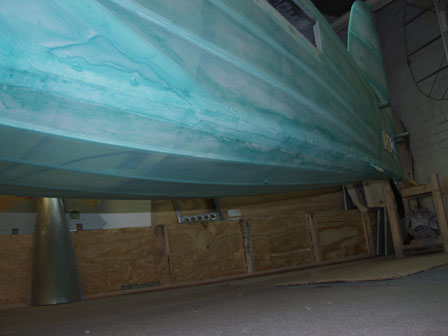
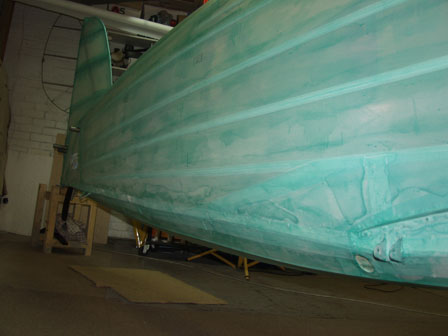
05/06/07-Sep-2008. Fabric covering.
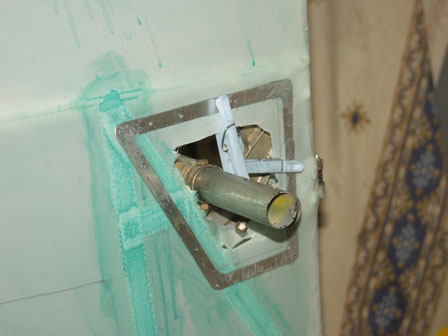
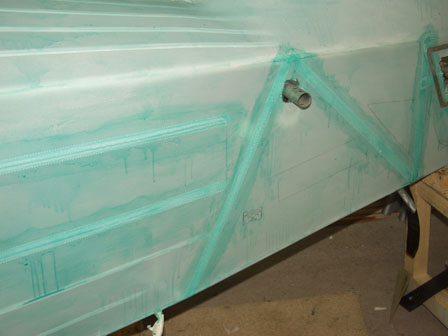
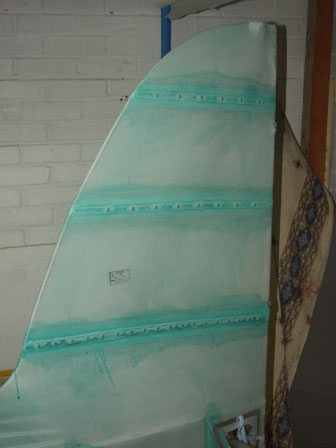
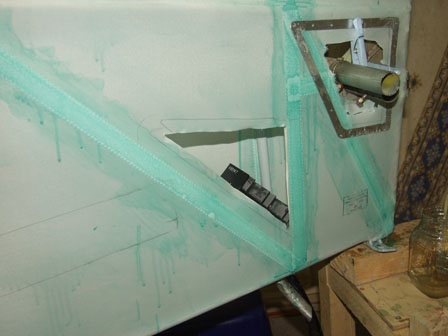
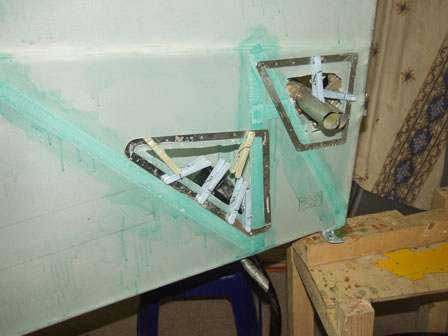
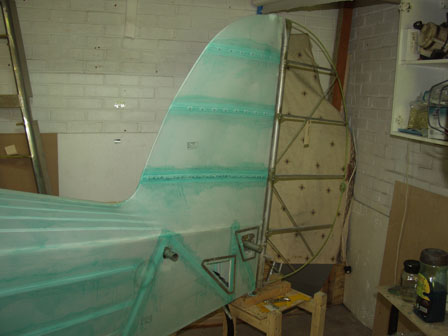
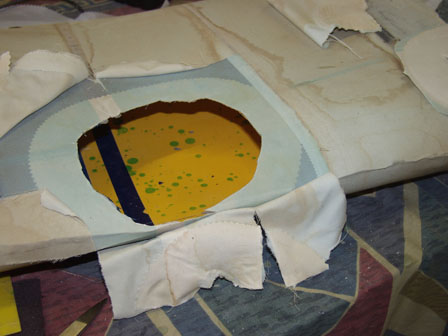
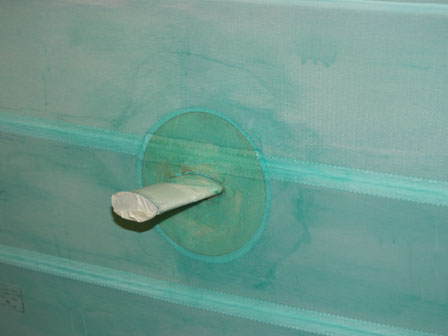
The fabric is fitted to the fuselarge - spend the weekend fitting all the tapes and inspection panels. Completed all the tapes, now ready to spray Rand-o-proof. Very pleased with my weekends progress (well it did rain most of the weekend!!!).


Fitting inspection panel.
Marking panel where rudder cable comes out of fuse, and inspection panel for beacon powersupply.
Tapes fitted to rudder.
Beacon powersupply inspection panel .
I found pegs the best to hold them in place - some panels needed morethan others to hold them against the fabric while the glue dried.
To check the rudder cable fuse exit positions I fitted the rudder and attached the cables.
This is the original covering and had the step reinforcement still in place so I reused it.
First a patch was applied to the fuse, then the reinforcement added (to stop damage when stepping in).
After a small then larger fabric patch were added (this just shows the smaller patch).
Rear inspection with fabric added.
Next I started fitting the fabric strips.
I needed some 3" tape, did have any. So I cut down a 6" tape.
Rear of cockpit fabric strip. I used conter sunk rivets as a panel sits against this strip .
Strips around cockpit.
Rudder cable inspection panel. I stripped down the old inspection panels to see how and where they were fitted.
Rudder cable exit.
Finished Sunday and cleaned up. I am very pleased with the progress I have compleded all the fabric work on the fuse.
  Copyright © 2008 GreatLakes2T .co.uk All rights reserved. All pictures are property of GreatLakes2T (unless noted) please do not reproduce. For more information contact webmaster [at] greatlakes2t .co.uk This site is NOT the official Great Lakes Inc site. The contents of this site are the opinion of the author, not LAA, FAA or CAA. Please check all information is correct before you act upon it.